


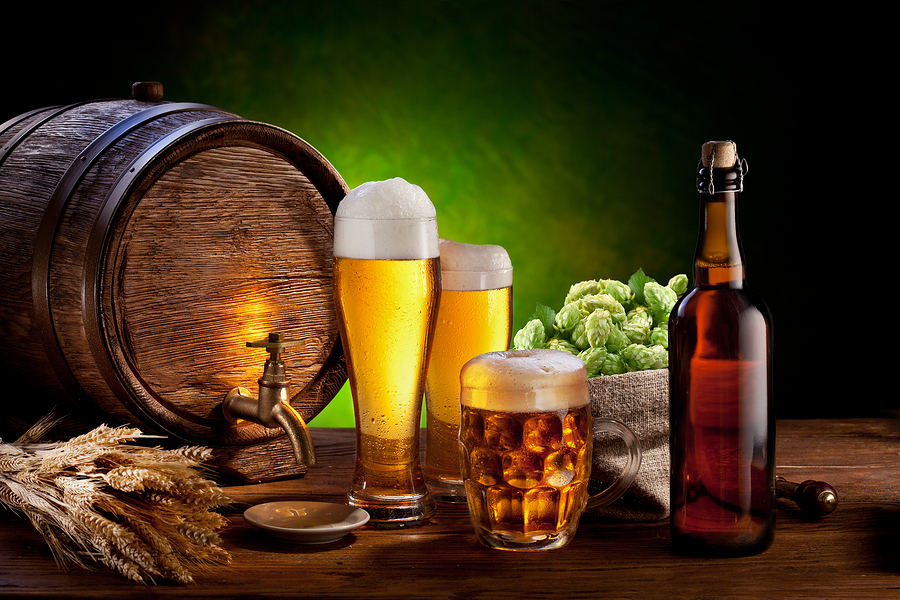
Try it at home: brew your own beer

While a good pint was once something reserved for the pub, today brewing has become more fashionable and all over the country local tastemakers have been coming up with their own special blends of ale and cider to enjoy.
If you’re something of a craft beer aficionado yourself, why not get involved and try making your own beer at home?
Brewing your own beer is a fun and inexpensive hobby, and is a great way to share your passion with family and friends as well as add your own mark to your next event or special occasion.
The basics of homebrewing
To brew your own beer at home the first thing you’ll need is a kit that comes with the right mix of ingredients like hops, malt extract and priming sugar – you can purchase these online from retailers like Lakeland and Love Brewing, or if you prefer, look for a local brewer or winemaker who sells similar kits and can offer their advice. You’ll need:
- A 40 pint (23 litres) pressure barrel
- Fermenting bucket,
- Siphon tube,
- Plastic spoon
- Cleaner and steriliser
- Thermometer
- Hydrometer
Once you have the right equipment and ingredients you’re ready to get started. The brewing process happens in 5 stages. Mixing the ingredients and making the beer itself should take between 3 and 4 hours, so it’s an easy activity to do in an afternoon or on the weekend with family and friends.
The fermenting stage takes longer – between 4 and 6 weeks – so make sure you have somewhere safe and away from direct sunlight to store your beer as it ferments. Your mixture should be drinkable after a month, however it can take up to six months for your beer to reach its optimum flavour, so if you can let it rest for as long as possible.
You can find a detailed guide to help you along the way on websites like How to Brew, as well as the Home Brewing Blog on dedicated sites like Beersmith. The five steps are:
1. Brewing
Boil together your pale malt extract and hops with water for about an hour. This will sterilise the extract and release the bittering qualities in the hops. You can also steep the grain in the mixture prior to the boil to create a more complex flavour and colour.
2. Fermenting
Leave your hot mixture, or wort, to cool to room temperature and then siphon and transfer to a fermenter where you’ll combine with more water to create your batch size. After the mix reaches room temperature, add yeast to begin the fermentation process – at this stage the wort can be easily infected so take care to ensure cleanliness and sanitation. Keep the fermented mixture sealed using an airlock and leave for 1 – 2 weeks.
3. Prime & Bottle
Once the beer is fully fermented, siphon the mixture into another container to get it ready for bottling. Mix in the priming sugars and then siphon into bottles and secure them using a bottle capping device.
4. Let it age
Leave your bottled beer to age for 2-6 weeks. During this stage the yeast will ferment with the remaining sugar to create carbon dioxide – this is what will make your beer bubbly. Sediments like excess yeast and proteins will also drop out of the beer during the ageing process to help enhance the flavour.
5. Enjoy
Once you’ve aged your beer properly all that’s left to do is refrigerate your bottles and enjoy. If you’re planning on using your beer for a special occasion like a family party or wedding, why not design your own labels and give your beer it’s own name? Also be sure to keep track of the recipe you used and anything you noticed during the process so you can make the beer again.
Have you ever tried home brewing?
Rachel - Silversurfers Assistant Editor
Latest posts by Rachel - Silversurfers Assistant Editor (see all)
- Graham Norton’s funniest interviews - April 2, 2024
- Chocolate dipped strawberries for Easter - March 28, 2024
- Elton John’s Greatest Hits Playlist - March 24, 2024
- The best of Diana Ross - March 23, 2024
- Easter activities for grandchildren - March 23, 2024