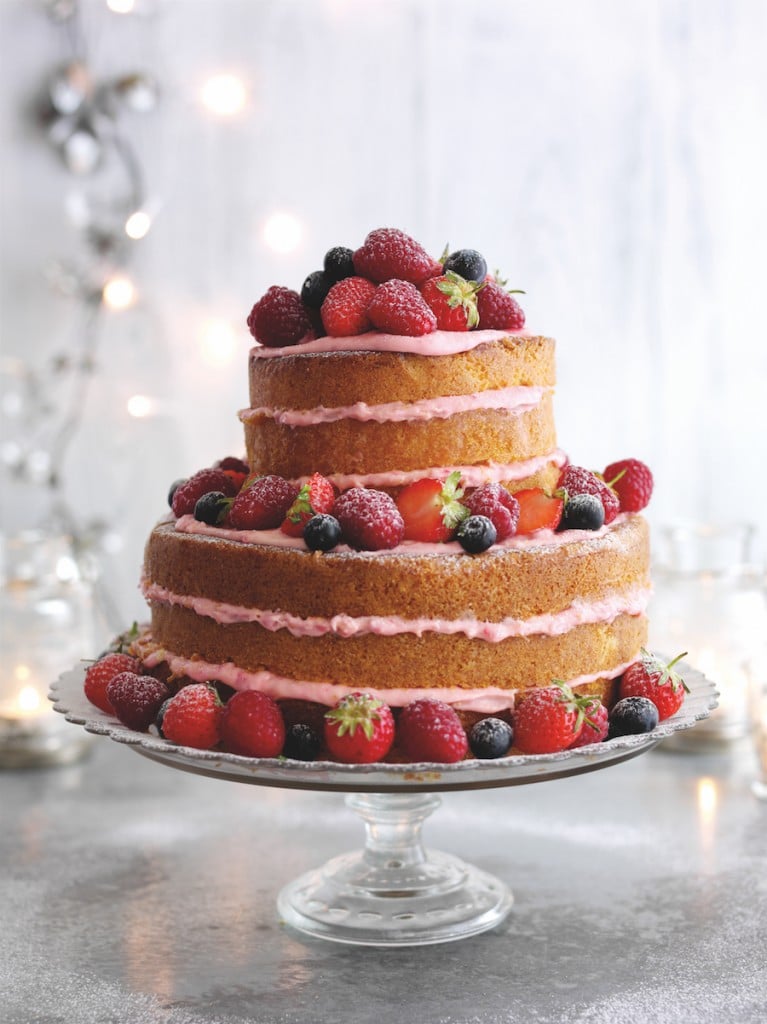
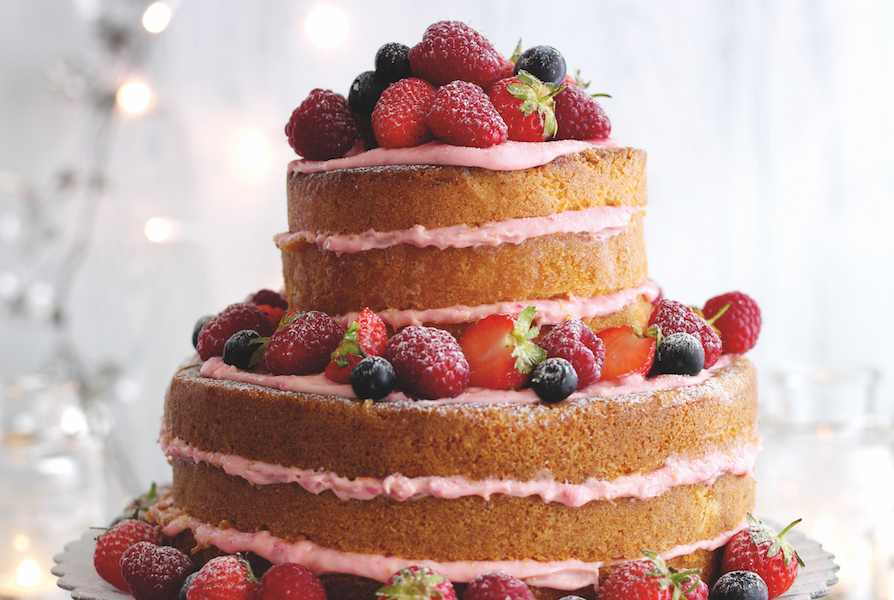
Naked berry celebration cake
Try this delicious naked berry cake as an alternative for your next celebration.
This cake is perfect for a large festive family gathering or a New Year’s Eve soiree; the tiered layers make for an incredible showstopper and with minimal icing, it’s a light but delicious treat.

Serves: 16-20 Prep: 40 minutes Cook: 1-1 1/4 hours To finish: 40 minutes
You’ll need:
For the lemon cakes
- 400g/14oz soft margarine
- 400g/14oz caster sugar
- 2 lemons, finely grated rind only
- 7 medium eggs
- 550g/1lb 4oz self-raising flour
- 5 tablespoons semi-skimmed milk
For the lemon drizzle
- 2 lemons, juice only
- 150g/5oz caster sugar
For the frosting
- 100g/4oz butter, at room temperature
- 350g/12oz icing sugar
- 100g/4oz lemon curd
- 75g/3oz raspberries
To decorate
- 400g/14oz strawberries, halved if large
- 225g/8oz raspberries
- 100g/4oz blueberries
- Little sifted icing sugar
- Edible flowers, optional
Method:
- Preheat the oven to 160°C/140°C fan assisted/Gas mark 4. Cut long strips of nonstick baking paper a little taller than the sides of a cake tin. Fold up one of the long edges by 2cm/3/4 inch then make small scissor snips up to the fold. Arrange the paper strips around the sides of a 20cm/8inch and a 13cm/5inch deep round cake tin with the snipped edges downwards then add a circle of nonstick baking paper to the base of each cake tin.
- Add the soft margarine, caster sugar and lemon rind to the bowl of an electric mixer and beat together until light and fluffy.
- Add one egg and beat until smooth, add a second egg and a spoonful of flour and again beat until smooth. Gradually mix in all the remaining eggs and flour alternately until the cake mixture is smooth.
- Divide the mixture between the two tins so that they a similar depth then smooth the surface and bake in the centre of the oven. Allow 50-60 minutes for the small cake and about 11/4 hours for the larger cake until well risen, golden and a skewer comes out cleanly when inserted into the centre of the cake.
- Meanwhile, mix the lemon juice and sugar together and set aside. Add all the frosting ingredients to the bowl of an electric mixer and beat together until smooth. Cover the bowl and chill until needed.
- Allow each cake to cool for 5 minutes then turn out on to a wire rack set over a cooling rack so that the top is downwards. Peel away the lining paper and skewer what is now the top of the hot cake. Drizzle over the syrup and leave to cool.
- When ready to assemble the cake, trim off the domed top if needed then turn the cake back over so that the sticky syrupy base is now the top. Cut each cake into 3 layers with a serrated knife. Put the base layer on to a pedestal stand, spread with a little of the frosting then layer up the two other larger cake layers with frosting. Spread the top of the cake with frosting then add the base layer of the smaller cake and layer up cake with frosting.
- Insert 3 long plastic cake supports through the top of the cake down to the second cake to hold them in place. Trim off the top of the cake supports level with the cake using scissors.
- Spread a layer of frosting on the top of the cake then decorate the cake tiers and base of the pedestal stand with berries and dust with sifted icing sugar. Scatter with edible flower petals if using.
Cook’s tip
The cake can be made and drizzled with syrup the day before and kept in a large plastic box lined with nonstick baking paper in a cool place. Make and chill the frosting the day before too. Assemble the cake when needed or 2 hours in advance. Use two long spatulas when lifting the layers of cake, the top layers are the most fragile as they contain the most lemon syrup.
Recipe courtesy of Seasonal Berries
Rachel - Silversurfers Assistant Editor
Latest posts by Rachel - Silversurfers Assistant Editor (see all)
- Graham Norton’s funniest interviews - April 2, 2024
- Chocolate dipped strawberries for Easter - March 28, 2024
- Elton John’s Greatest Hits Playlist - March 24, 2024
- The best of Diana Ross - March 23, 2024
- Easter activities for grandchildren - March 23, 2024


