


Tips for sowing seeds indoors

Sowing seeds and watching them grow is a great experience
Sowing seeds indoors requires very little in the way of space or tools, offers you a greater variety of plants or vegetables than you may get from a garden centre and it can save you money!
Here are some tips to consider when you start sowing seeds indoors.
Growing seeds indoors versus outdoors
So why grow some seeds indoors rather than outdoors? It comes down to the weather and climate.
In colder weather, sowing seeds indoors means you make a head start on the growing season and this can be important for tender plants. When the weather is starting to heat up it gives you a chance to grow your seeds indoors before it gets too hot.
Which seeds to choose?
Not all seeds should be sown indoors, some grow better when planted outside. Those that can be sown indoors and transplanted out to your garden are:
Lettuce
Tomato
Sweet Potato
Broccoli
Kale
Cabbage
Cauliflower
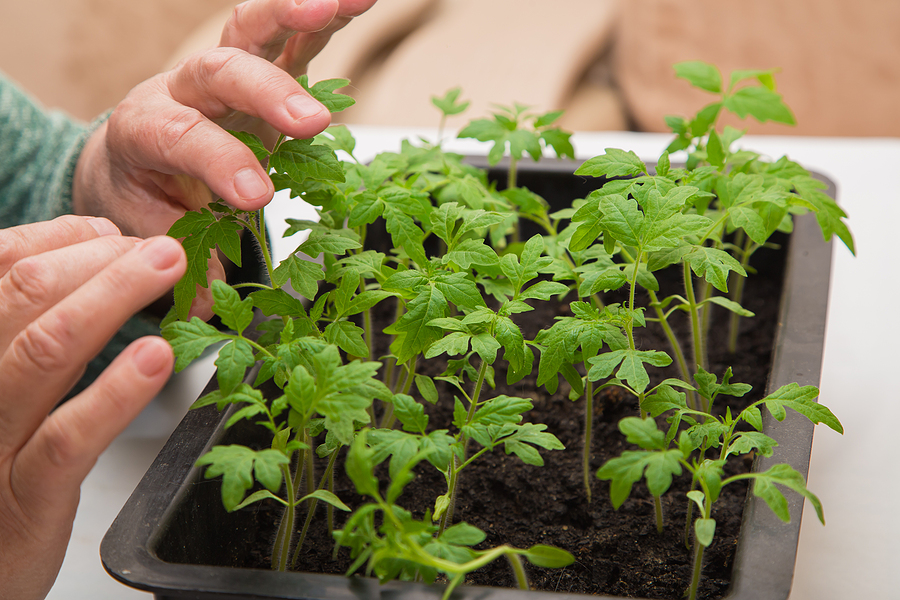
Growing tomato seedlings
Others that can be sown indoors but are more fragile when it comes to transplanting are:
Melon
Peas
Pumpkin
Cucumber
Celery
Know when to sow
You should always refer to your seed packets to work out when to sow. Most will have a recommended date on the back.
If you have a heated greenhouse or ample indoor space you can look to start sowing indoors as early as January. If not look to start around February and March to then transplant outside in May and June when there is likely to be little frost.
What do you need?
Sowing indoors does not mean you have to buy lots of equipment. The essentials you will need are:
- Seeds
- Seed compost
- Seed trays or containers
- Plant labels
- Pencil
- Watering can
- Propagator lid
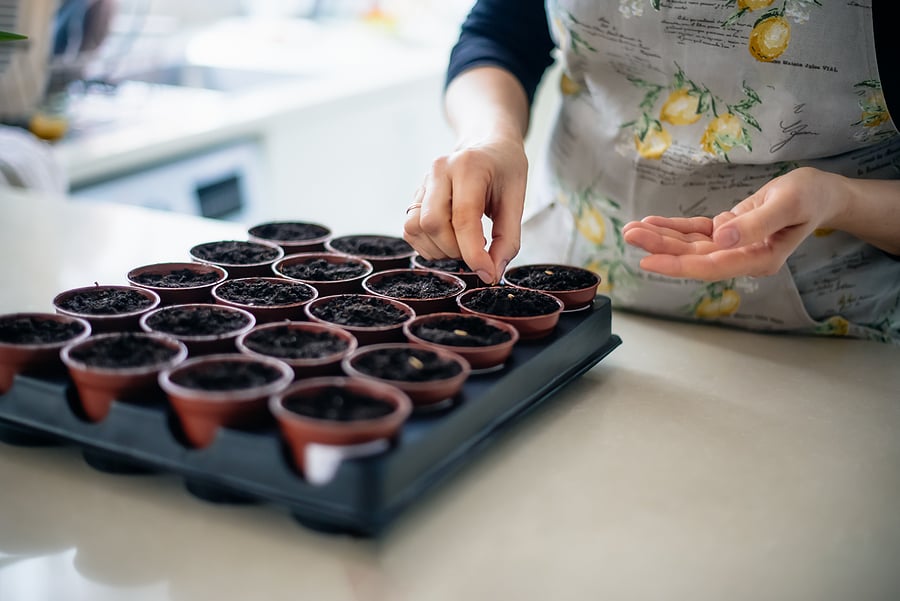
Sowing indoors step by step
- Read your seed packet carefully.
- Start with a clean container and fill it with seed compost or potting mix.
- Make shallow depressions in the compost or mix and plant your seeds.
- Then sprinkle a little more of the compost or potting mix over the seeds.
- Skim your hands over the top to cover the seeds.
- Water using a watering can to dispense the water lightly and moisten the soil. Don’t make it soggy.
- Label your trays with the date and the seed planted.
- Cover your tray with your propagator cover to maintain an even temperature and keep in moisture.
- Place in a warm spot to germinate such as a well-lit windowsill.
- Water often and keep an eye on the seeds.
- Once seeds start to appear remove your lid. If the nights do get colder you may need to remove them from the window sill to a warmer part of the house.
When to transfer?
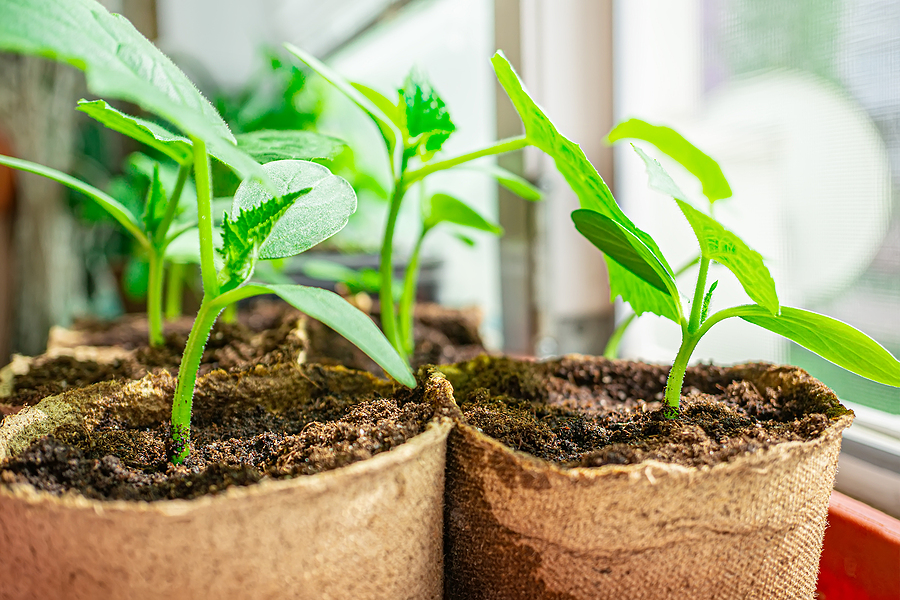
Cucumber seedlings on a window sill
After a few weeks, your seedlings will be ready to pot outside. This is usually when the roots fill your container and the soil dries out quickly as the plant is taking up the water faster.
Your seedlings will need to acclimatise to the outdoors. Take them outside for a couple of hours each day and then extend that time over one to two weeks. Do not transfer if there is frost or inclement weather.
Growing seeds indoors and watching the results is fun! There is also something special about being able to say ‘I did that.’ Follow our tips and enjoy taking your gardening inside!
Melina - Assistant Editor
Latest posts by Melina - Assistant Editor (see all)
- Top tips for hay fever sufferers - April 14, 2024
- Paysan Breton Cream Cheese Breakfast Wraps - April 12, 2024
- 4 Homemade Sweet Treats for Easter - March 24, 2024
- Playground Memories - March 10, 2024
- The invasion of the duvet: the ’10-second bed’ - February 20, 2024