


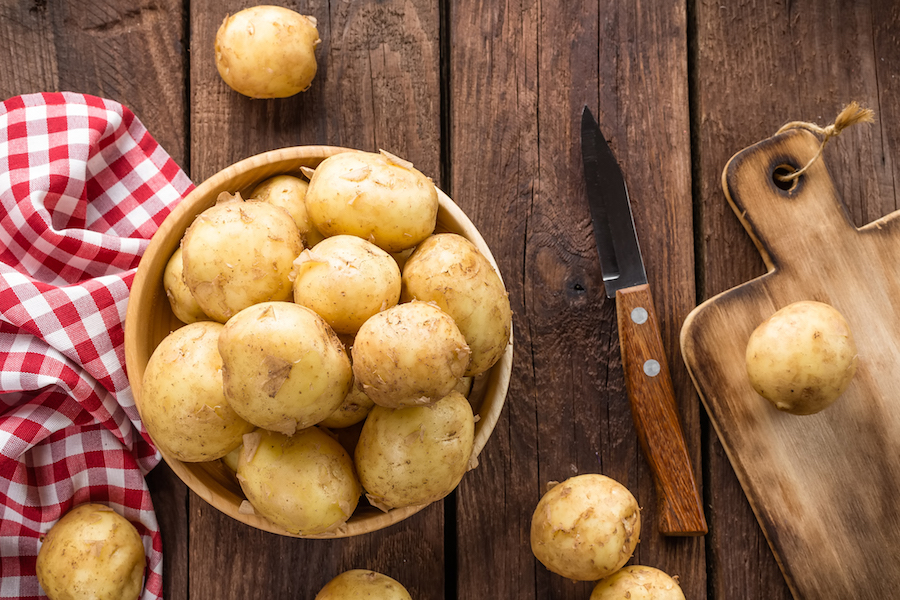
How to grow your own potatoes in 7 simple steps

So, you want to grow potatoes? Well, you’ll be pleased to know that you don’t need a massive garden or allotment to do it. You can even grow a tasty crop in a small urban plot, using a pot or container with a capacity of at least 10 litres.
Start them off now and you should be enjoying tasty potatoes from July through to the end of the year. All that’ll be left to do is decide: chips, mashed or jacket?
Here’s how…
1. Buy blight-resistant varieties
Good looking #sarpo axona @SarpoUK. a little blight on leaves but im very happy, lots of #chemicalfree tasty #potatoes for winter. pic.twitter.com/n9eScpAXLZ
— Hop Cottage (@hop_cottage) October 4, 2016
Excessive wet weather can lead to the gardener’s nemesis – blight – which can ruin your crop in one fell swoop.
But there’s a range of blight-resistant ‘superspuds’ known as Sarpos (pronounced Sharpo). Available in red, white and blue, from Thompson & Morgan, Suttons, garden centres and online retailers, they are now being grown by gardeners who don’t want the plight of blight. Blue Danube is a good blight-resistant variety with a deep blue/purple skin (but white flesh).
2. ‘Chit’ them first

Potato chitting prior to planting out
Seed potatoes can now be bought in large bags from garden centres, seed companies and online, but if you have limited space or just want to try out a few, hunt out the centres which sell loose tubers by weight.
Early varieties of seed potatoes should be ‘chitted’ in January and February before planting out (you don’t need to chit maincrop types as they have a longer growing season).
Chit them by laying the potatoes rose-end (where most of the tiny sprouts are) on newspaper in clean seed trays or old egg boxes, placed on a windowsill or in a frost-free greenhouse in a light position but not in direct sunlight.
In a few weeks, the shoots will grow, gaining strength while the soil is still too cold for them to be planted outside.
Rub off all but the four strongest sprouts and when they have grown to around an inch, chitting is completed. Don’t plant them out until the end of March, though, as the shoots will take time to develop.
3. Prepare the ground

Prepare the ground
In the meantime, if you have a vegetable plot or allotment, dig the area to loosen the soil, adding organic matter such as well-rotted manure or compost and working it into the soil.
4. When to plant

Planting potato tubers
Early varieties can be planted out in late March and early April, second-earlies a week later, and maincrop potatoes a week after that.
Plant tubers of seed potatoes around 15cm deep and 40cm apart in rows 60cm apart. Second earlies and maincrop potatoes should be planted 40cm apart allowing 75cm between rows.
5. Maintenance phase

Tubers need earthing up
Hoe shallowly to keep the rows weed-free, then when the first shoots appear above the surface, draw up earth with a hoe from between the rows to cover the shoots (known as earthing up), which encourages underground shoots and more tubers and stops the tubers being exposed to the surface and turning green. Earthing up will create gullies between rows.
Potato foliage should soon cover the ground and you won’t need to weed any more, while potatoes rarely need watering, unless you get a prolonged period of drought in summer.

Foliage soon covers the ground
If a late frost is predicted in May, cover the foliage with garden fleece, or sacking as if the leaves are blackened, the yield may be reduced.
6. Harvest time

Harvesting potatoes
Earlies should be ready from early June, second-earlies from mid-June or July, and maincrops from September through the autumn.
Start digging earlies as soon as the tubers are a fair size. Push your hand under a plant to feel for egg-sized tubers, or lift an individual plant gently using a fork.

Gently dig round perimeter before pulling up plants
The tubers should come up with it, and you can sift around in the soil for any remaining ones. If the tubers aren’t ready, push them back into the ground and give them a good watering.
When the plants start to flower is a good indication that the tubers are ready to harvest, although you could ease out some earlies by ferreting under the soil with your hand and pulling a few out, without pulling up the plant, which will continue growing. They should keep in a cool, airy shed in the dark, or the vegetable drawer of the fridge, for a week or more.
Second earlies can be lifted for storage later, but try to use them before you start on the maincrops. With maincrops, leave the plants to die down completely. They keep quite well in the soil but lift them before the ground becomes really wet or else they are likely to rot.
7. Storage
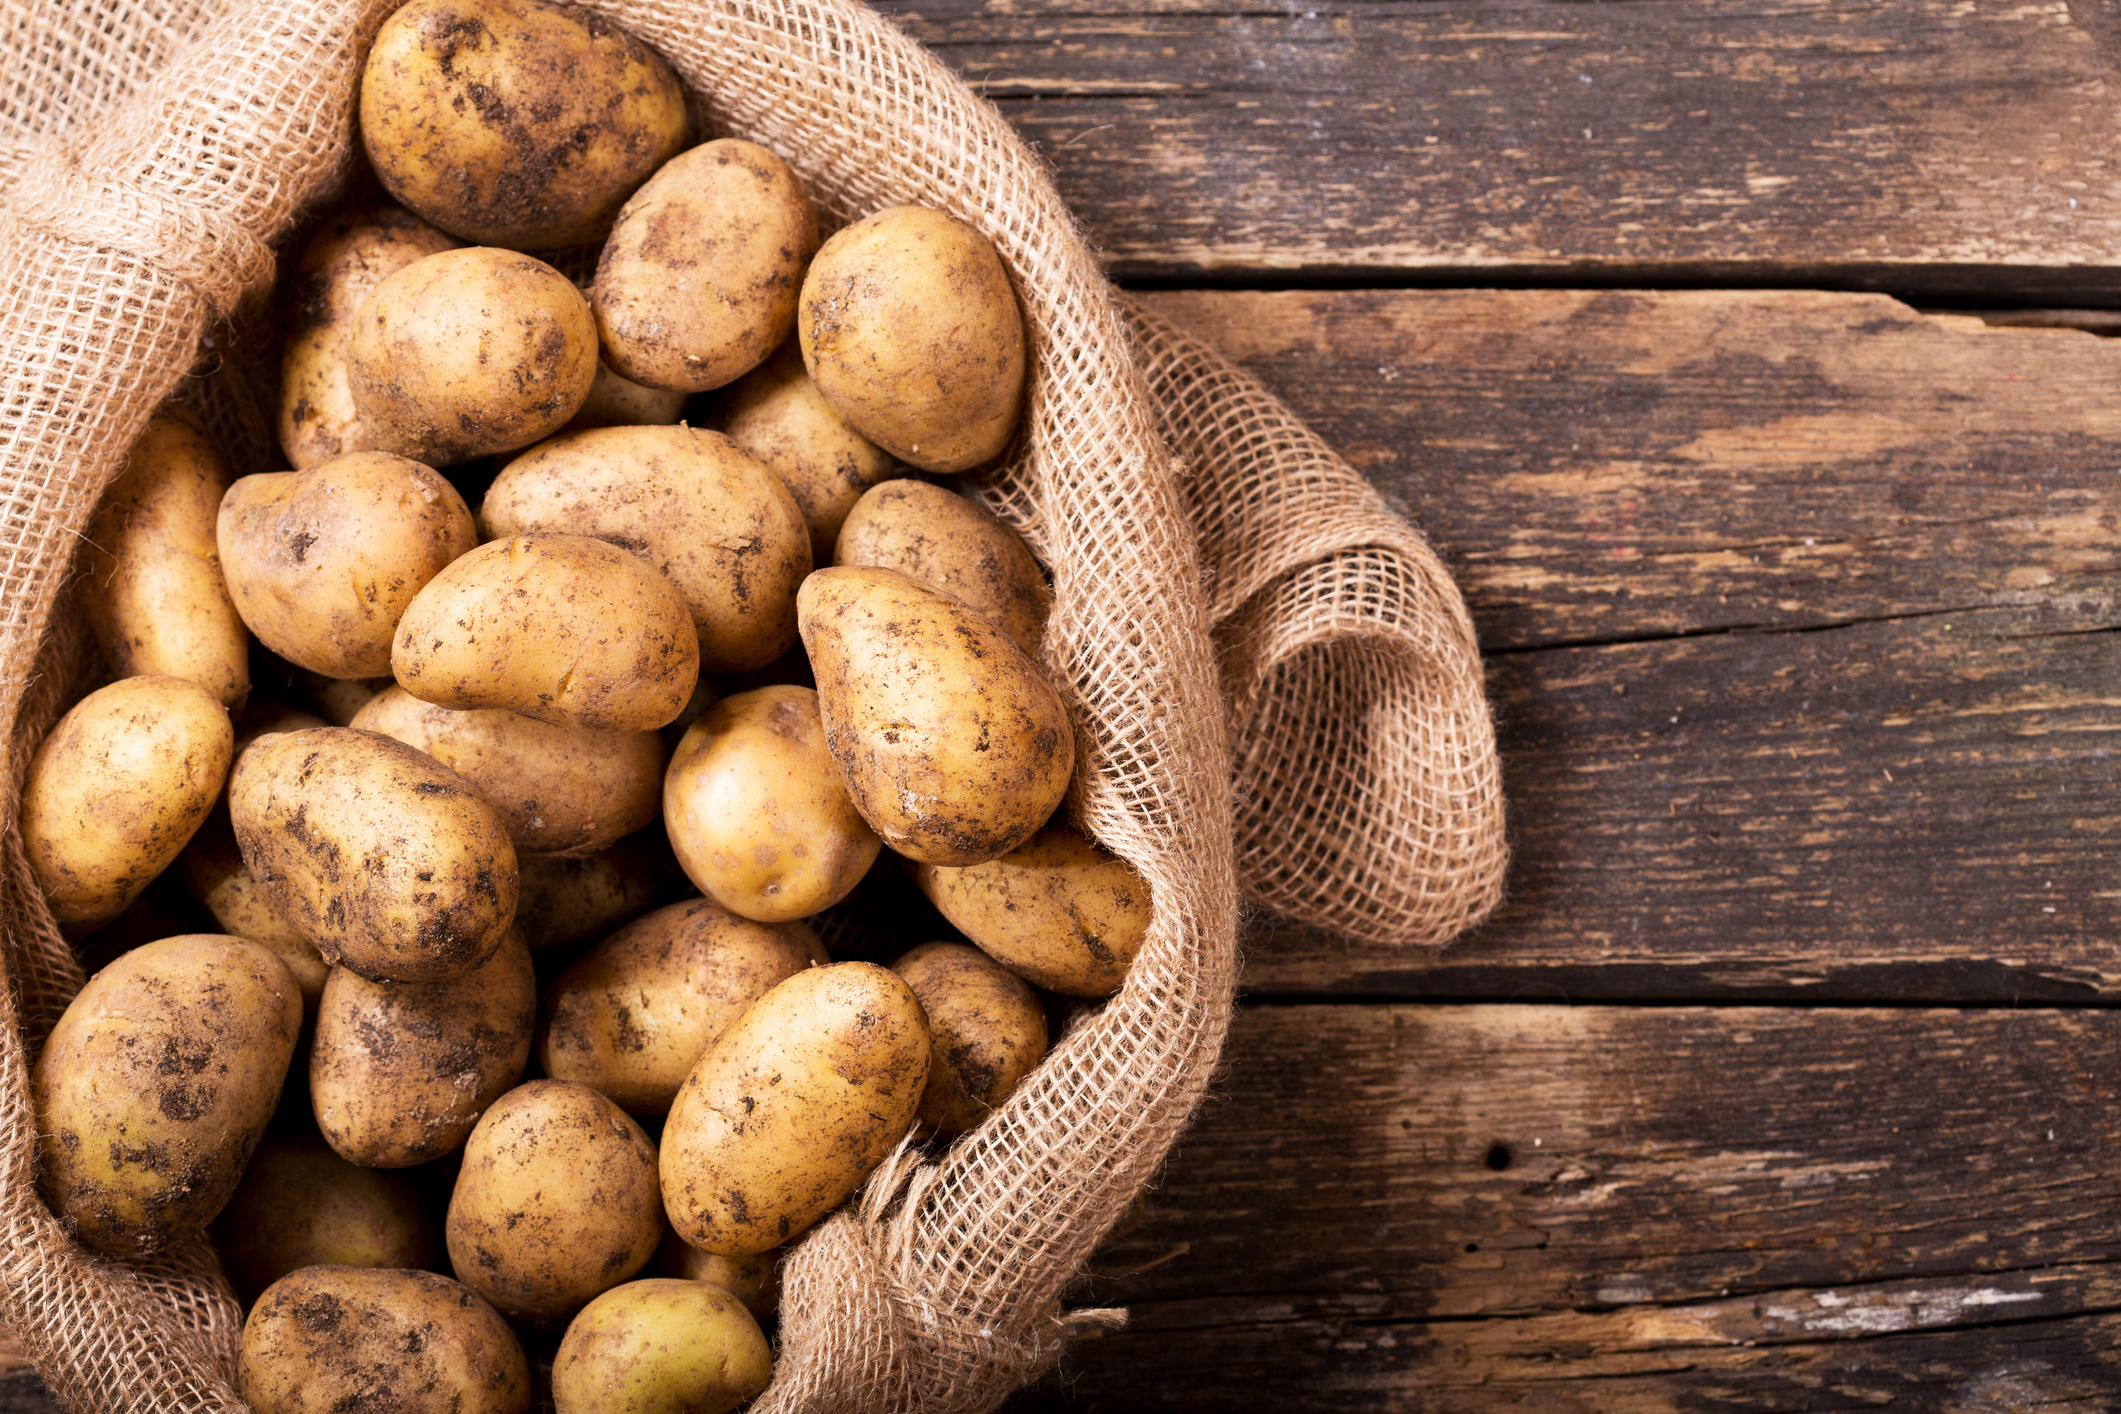
Store potatoes in hessian sacks
Dry out maincrops in a dark shed for a couple of days before storing them in hessian or paper sacks, until required.
The Press Association
Latest posts by The Press Association (see all)
- Princess Charlotte ‘s ninth birthday marked by picture release - May 2, 2024
- Strong passwords more important than ever, experts warn - May 2, 2024
- Princess Charlotte set to celebrate ninth birthday - May 1, 2024
- How edible flowers can make your dishes look and taste divine - April 30, 2024
- Beauty entrepreneur Liz Earle on turning 60: Ageing is a gift - April 30, 2024