


Something old, something new

Old has never been more in vogue, and giving a home a vintage feel is bang on-trend. Gabrielle Fagan digs out two crafty projects to conjure the bygone era
If you’re secretly yearning to give your home a charming new look, it’s time to hark back to the past.
Remnants of vintage fabrics, old wallpapers, a little imagination and some basic craft skills are all that’s needed to conjure the fashionable atmosphere of a bygone age, according to vintage expert Sarah Moore.
Her new book, Vintage Home, is packed with 50 handmade projects, from furniture to decorating, and all the essentials can be cheaply found in places like charity shops, car boot sales, flea markets, house clearances and reclamation yards.
“As you build your collection of thrifty and gorgeous vintage finds, you can customise them and decorate your entire home at a fraction of the cost of buying things new,” she says.
“Slot a little bit of vintage into your home, or fill it with retro finds. You can get a huge amount of pleasure from finding just the right materials to add colour, character and individuality.”
Here are Moore’s tips for vintage style, and a couple of her projects to try.
MATERIAL MAKEOVER
Recycle vintage fabrics and use them to make curtains, duvet and cushion covers, or for jazzy details like a new ironing board cover or towel-edging, suggests Moore.
She advises choosing strong materials and washing them in a colour-kind detergent, then ironing them before use.
“Mix and match old fabrics with new. Striped ticking, dyed linen and calico sit really well alongside old fabrics,” she says. “Use them for linings, which will allow your vintage finds to go twice as far.
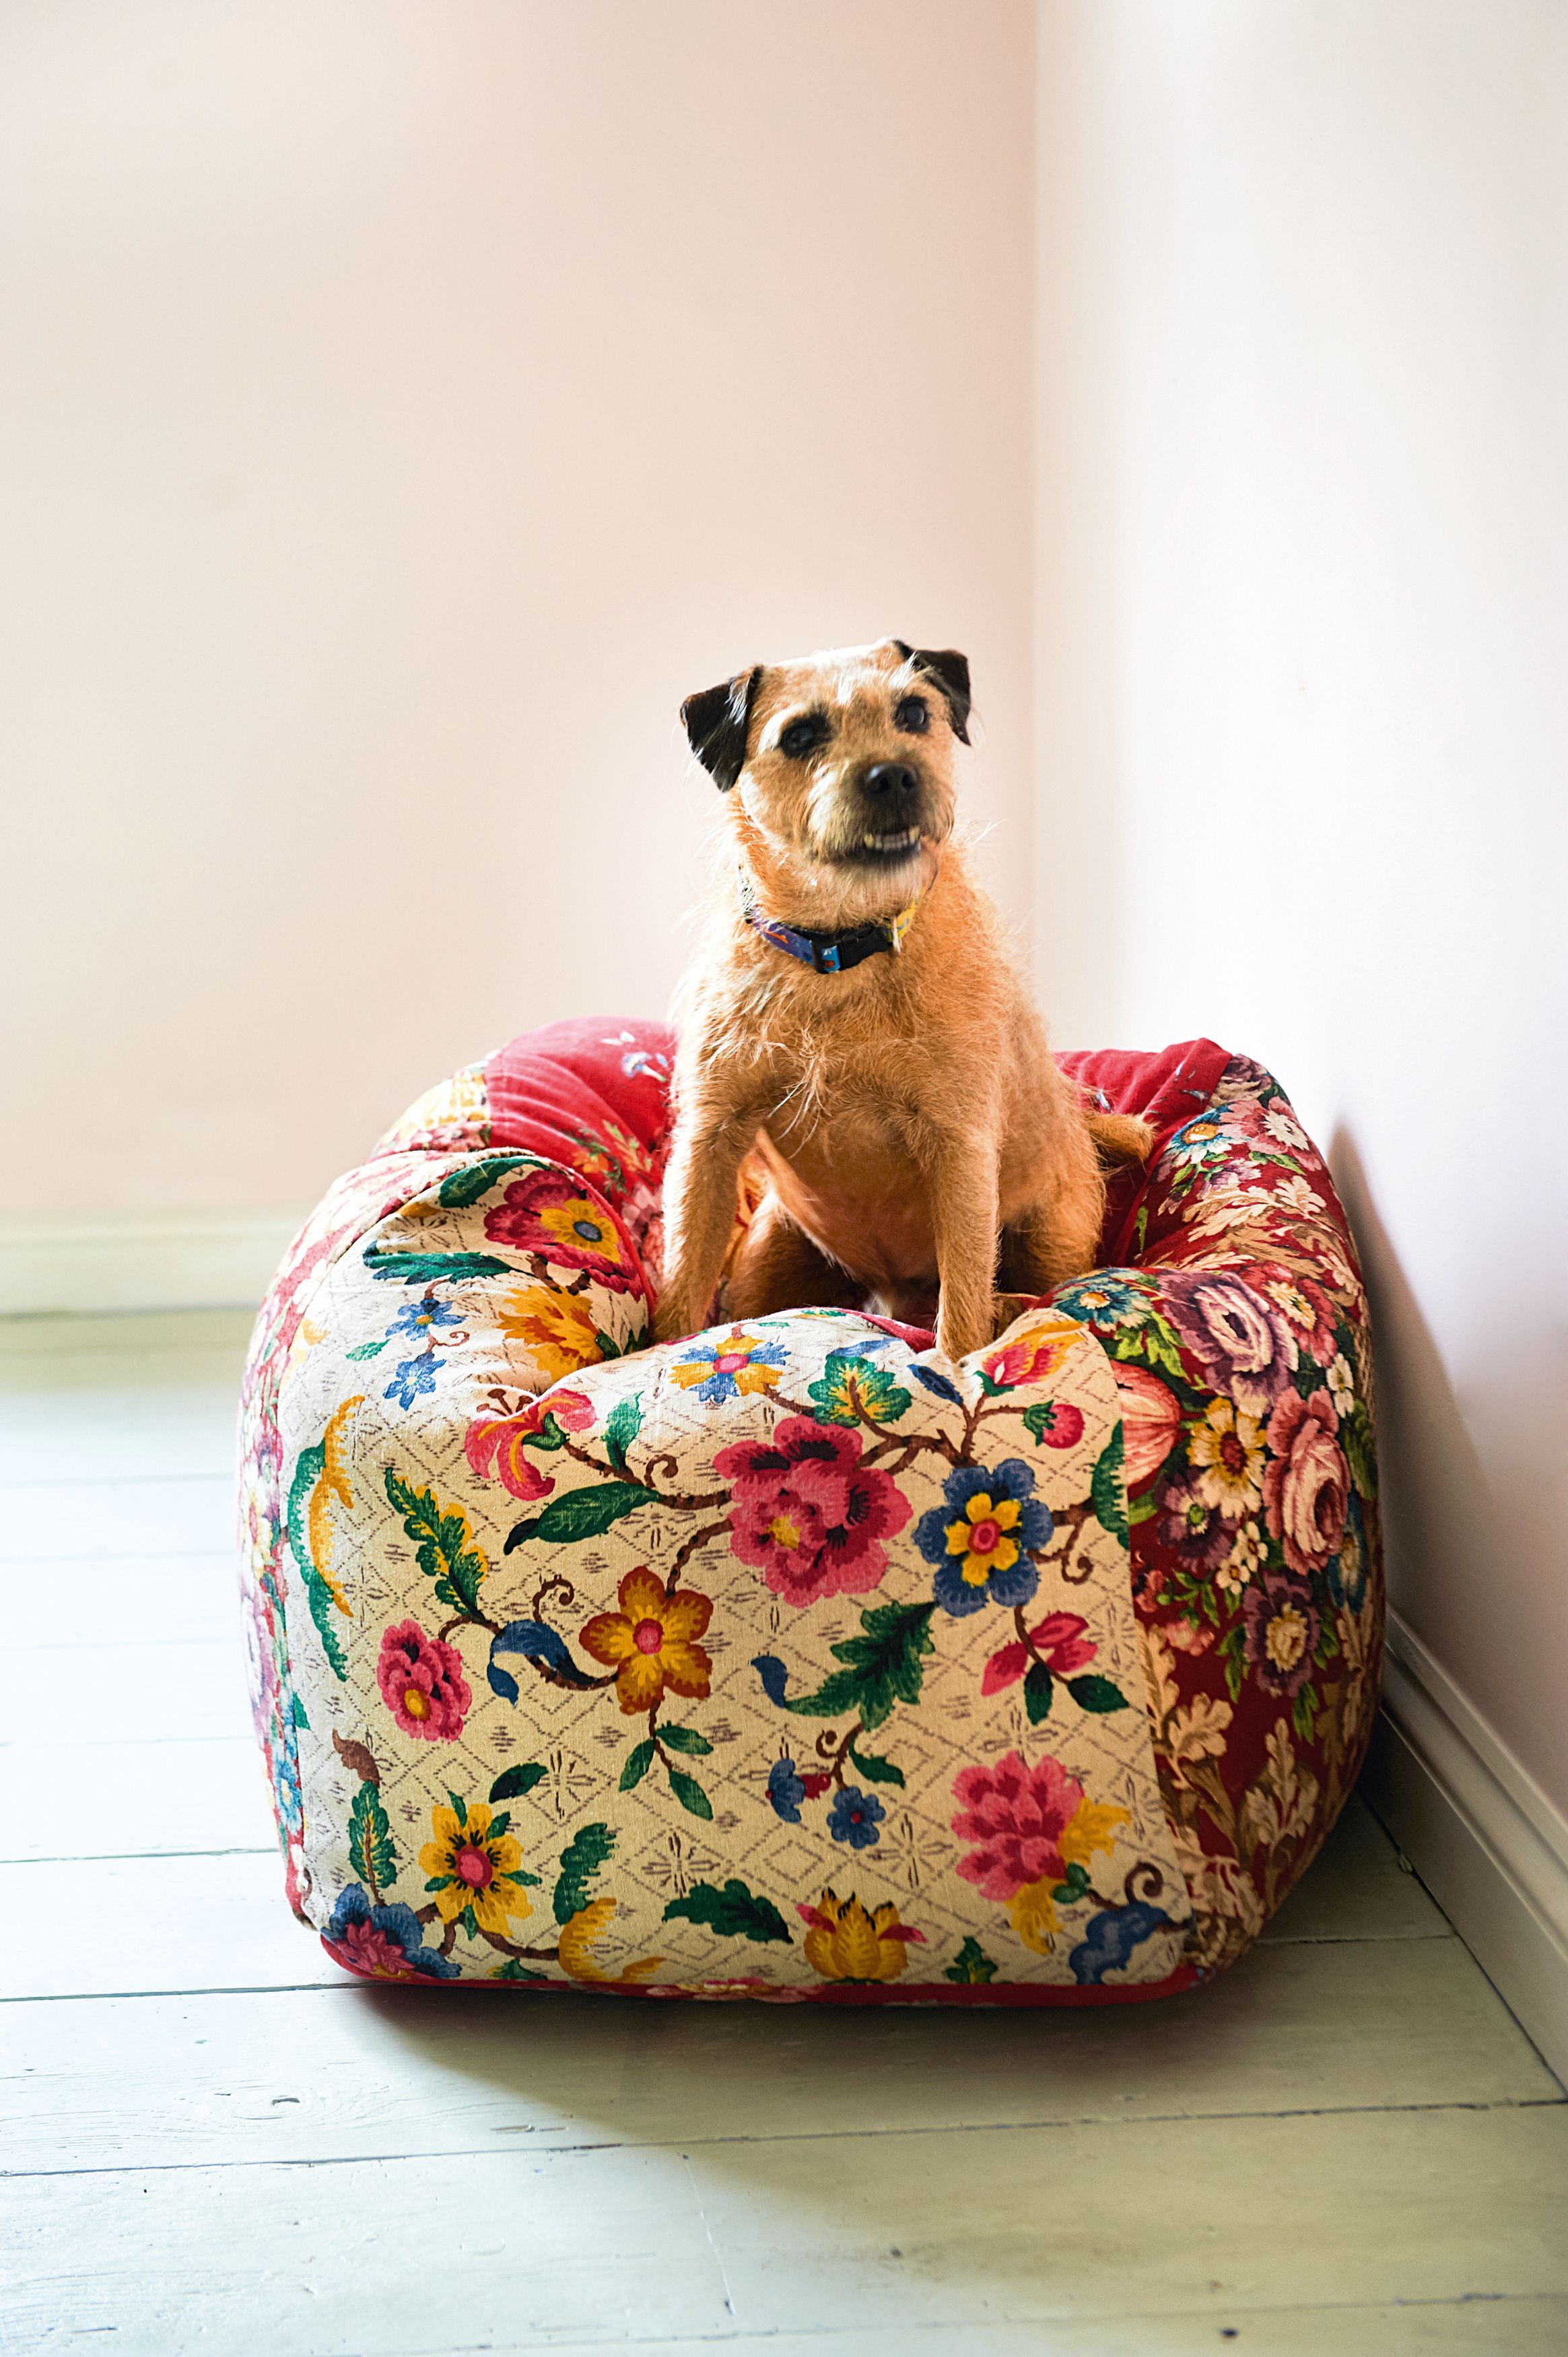
:: SHOP THE LOOK: If you can’t face the toil, simply buy a few pieces to give rooms a fast vintage feel. A Lucky Chair, with patchwork effect upholstery, £595, Loaf. (0845 459 9937/www.loaf.com).
Set of four Vintage Flower Print Magnets, £7.50, Hampton Blue (07989 573 171/www.hamptonblue.co.uk). Vintage Cream Cushion (Applique Birds), £13, Home Treats (0845 5577 564/www.home-treats.co.uk).
PAPER IT PRETTY
Rolls of old wallpaper can work wonders pasted onto the interiors of cupboards, or to decorate the risers of wooden stairs, says Moore.
“I have a passion for old wallpapers, from the tiniest scraps which can be made into a patchwork for walls, to the Holy Grail of wallpaper finds – rolls and rolls of one pattern of genuine vintage paper.”
Old wallpaper used to be rolled with the pattern on the inside, and required trimming before use, so there’s a high chance you have a vintage find if you spot those signs.
:: SHOP THE LOOK: Vintage-style Wooden Suitcase Storage Boxes, from £20 each, available from mid-July, Oliver Bonas (020 8974 0110/www.oliverbonas.com). A floral Katherine wallpaper mural, from £79, Digetex Home, harks back to the classic designs of the past (www.digetexhome.com).
BEANBAG PROJECT:
Simple beanbags offer a great way of using up smaller pieces of fabric. You could make parts of the cover out of simple patchwork panels, too, says Moore.
Make the bottom panel out of a hard-wearing fabric so it can withstand wear and tear, she advises.
WHAT YOU’LL NEED: Tape measure, paper, pencil and paper scissors for the template. Six panels of upholstery-weight fabric (the size of the beanbag is up to you – they can be square or rectangular and from 50cm square for a child’s size); tailor’s chalk or fabric marker; fabric scissors; six panels of lining fabric (an old sheet or any reclaimed fabric is fine); pins; sewing machine; sewing thread; iron; polystyrene beads to fill the bag (or an old beanbag for reclaimed beans); hand-sewing needle (optional); Velcro strips the same width as the beanbag.
STEP ONE: Choose the size of your beanbag, then make a template for each different shaped face – remember to incorporate your chosen seam allowance. For a square, you will need one template with sides that measure the same. Or, for a rectangular beanbag, first draw the template for the top and bottom panels, then use the measurements for the long and short edges to help you create the other two pieces of your pattern.
STEP TWO: Place fabrics on a table, face down (so that you’re marking the inside of the beanbag), and draw around the pattern pieces using chalk or a fabric marker. Cut out each panel, apart from the one for the base. For this, add 5cm to each of the longer edges to allow for the hem and opening. Cut out this larger panel, too. Repeat the entire process on the lining fabric, but without allowing the extra 5cm on the base panel.
STEP THREE: First, make the lining. Pin the panels together, with the right sides facing, to make a cube. Using your sewing machine, sew along all but one of the edges, removing the pins as you go. Then turn the fabric, so the right sides are out, pushing out the corners into a cube shape. Turn in a hem that is the width of your seam allowance on both sides of the open edge, and iron it into place.
STEP FOUR: Carefully pour the polystyrene beads into the cube until it’s nearly full, then pin together the turned-in hems. Machine or hand-sew the opening securely closed.
STEP FIVE: To make the outer cube, first lay out the panel with the extra 5cm, longest side towards you, and fold and then cut it in half widthways. Turn over a hem of about 1cm on this newly cut edge and iron it flat to make a hemmed opening. Sew it into place using the sewing machine. Position the Velcro strips on the bottom of one piece and the top of the other, so when they attach you have created a panel the same size as the other five. Sew them in place using the sewing machine.
STEP SIX: Repeat the pinning and sewing process but, this time, sew all of the seams of your cube. Open the Velcro and turn the cube fabric so the right sides are facing out. Feed in the bean bag and secure the cover shut with the Velcro.
BEDSIDE TABLES
“Old apple crates lend themselves well to being transformed into perfect bedside tables,” says Moore. “Add a touch of paint and a little curtain, or go the whole hog, adding a useful interior shelf and even casters.”
WHAT YOU’LL NEED: Apple crate or bushel box; masking tape; paint and paintbrushes (optional); tape measure; fabric to make a curtain; fabric scissors; iron; pins; sewing machine; sewing thread; curtain wire and hooks.
STEP ONE: Give the apple crate a good wash and dry. When totally dry, paint the inside, if required. Chalk paint makes a lovely finish. Use masking tape to mask between the slats from the outside of the box so that the paint cannot leak out to the exterior when you paint inside the crate. Now paint the interior right up to the inside edges and allow to dry completely, then remove the tape.
STEP TWO: Stand the crate on its end and measure its front opening. Cut a piece of fabric twice the width and about 10cm longer than the length of the opening. Turn over a hem of 1cm on all sides of the fabric, press and pin it in place before sewing all the way around.
Turn over a large hem of around 3cm on the top of the curtain to make a channel for the wire. Pin and press that, too, then sew in place, removing the pins as you go.
Screw the little hooks that come with the curtain wire in place, just behind the top edge of the box. Feed the wire through the double hem of the curtain. Stretch the wire across the box and hook the curtain in place.
:: Vintage Home by Sarah Moore, photography Debi Treloar, is published by Kyle Books, £17.99. Readers can buy the book at the special price of £14.99 (inc p&p, UK mainland only). Email [email protected] or call 01903 828 503 and quote ref: KB VH/PA
Latest posts by Sally - Silversurfer's Editor (see all)
- 10 reasons we all adore our grandmas - May 16, 2024
- Exploring skip-gen travel – and a special gift from GHA DISCOVERY - May 15, 2024
- The best affordable bedding plants for Summer - May 15, 2024
- Stepping towards health: Understanding and treating 5 common foot conditions - May 15, 2024
- 10 Surprising Uses for Apple Cider Vinegar - May 15, 2024