


How to make Kefir at home

Kefir, a tangy, probiotic-rich beverage, has been enjoyed for centuries due to its numerous health benefits and refreshing taste.
While it was traditionally crafted in the Caucasus region of Eastern Europe, kefir has gained popularity worldwide as a nutritious and delicious addition to your diet.
Making kefir at home is not only a rewarding and simple process but also allows you to customize the flavours and reap the full benefits of this fermented superfood.
What is Kefir?
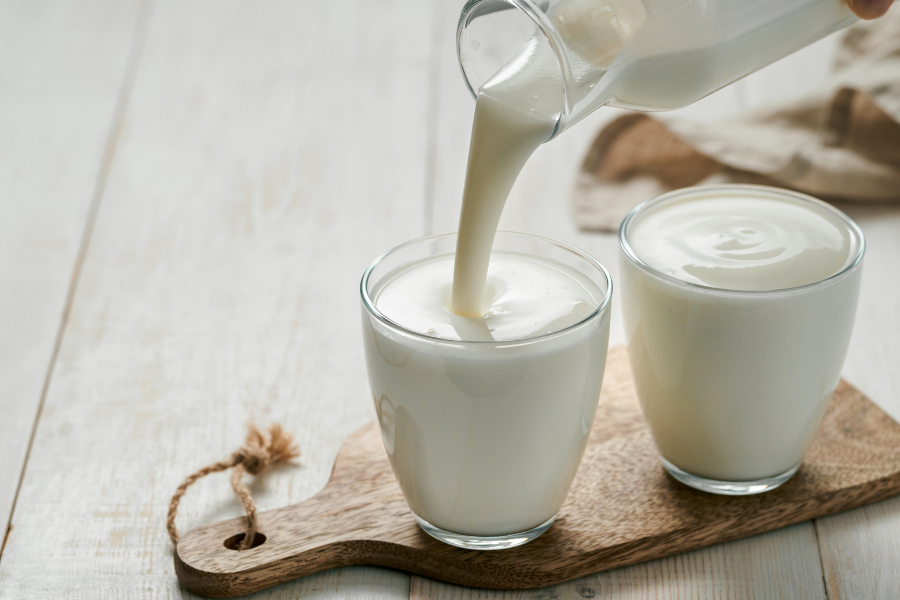
Kefir is a fermented milk drink made by introducing kefir grains, a combination of bacteria and yeast, into milk.
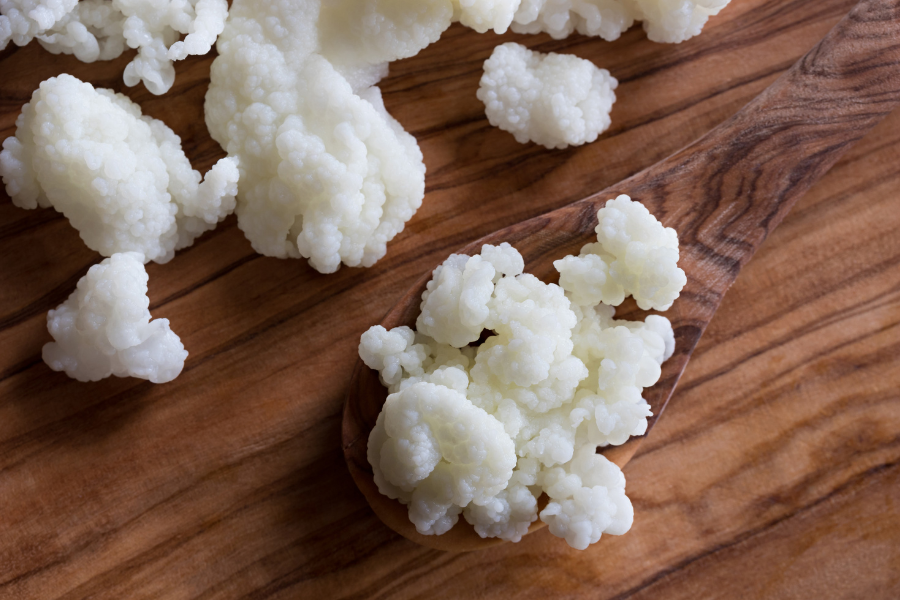
Kefir grains
These grains are not actual grains but rather gelatinous colonies of live microorganisms that resemble small cauliflower florets. During fermentation, these grains metabolize the lactose present in milk, producing lactic acid, carbon dioxide, and a range of beneficial bacteria and yeast strains. This process results in a slightly effervescent, tangy beverage with a similar consistency to drinkable yoghurt.
Step-by-Step Guide to Making Kefir:
- Acquire Kefir Grains: Obtain kefir grains from a trusted source, either from a friend who makes kefir or purchase them online or at health food stores.
- Choose Your Milk: Kefir can be made using various types of milk, including cow’s milk, goat’s milk, or non-dairy alternatives such as coconut milk or almond milk. However, it is important to note that the type of milk used may affect the taste and consistency of the final product.
- Combine Milk and Kefir Grains: Place the kefir grains in a glass jar and pour the milk over them, leaving some headspace for fermentation. The ratio of milk to kefir grains is typically one tablespoon of grains per one cup of milk.
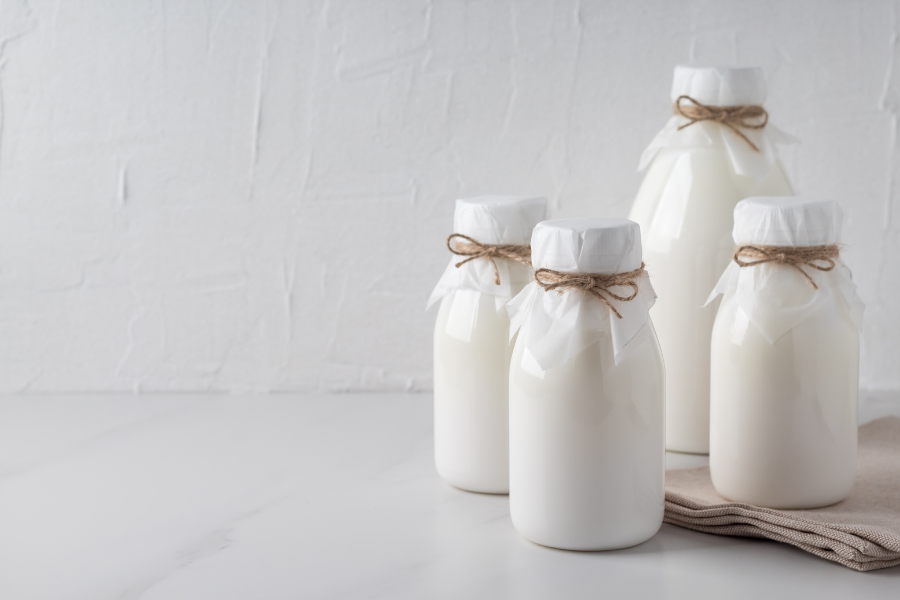
- Cover and Ferment: Secure the jar with a breathable cloth or coffee filter and fasten it with a rubber band to allow airflow. Ferment the mixture at room temperature, away from direct sunlight, for 24 to 48 hours. The longer the fermentation period, the tangier and thicker the kefir will become.
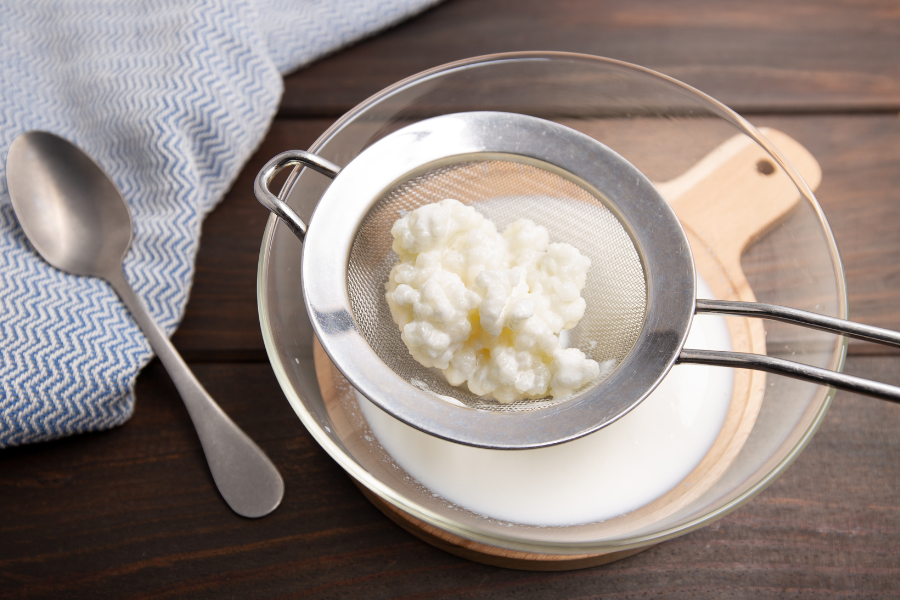
- Strain and Separate: After the fermentation period, gently stir the kefir with a non-metallic utensil and strain the liquid through a fine mesh sieve, separating the kefir grains from the liquid.
- Rinse and Repeat: Rinse the kefir grains with filtered water to remove any milk residues before reusing them for your next batch of kefir. The grains can be stored in the refrigerator in a small amount of milk if you plan to take a break from making kefir.
- Store and Enjoy: Transfer the strained kefir into a clean glass jar and refrigerate. The chilled kefir will continue to ferment slowly, further developing its flavour. Enjoy it plain, add fruit or honey for sweetness, or incorporate it into smoothies, salad dressings, or baked goods.
Once kefir is made, its shelf life depends on various factors such as the fermentation time, temperature, and storage conditions.
Kefir that has just finished fermenting is at its freshest and most potent. At this stage, it has a tangy flavor and a thinner consistency. You can consume it immediately or refrigerate it for a few days to allow it to thicken and develop a richer flavor. Typically, freshly fermented kefir can last in the refrigerator for up to 1 week.
If you prefer a thicker and tangier kefir, you can extend the fermentation time. The longer fermentation results in a more mature kefir with a stronger flavor. However, keep in mind that the longer you ferment kefir, the more it will separate into curds and whey. In this case, you can strain the kefir to remove the whey and obtain a thicker consistency. Fully fermented kefir can last in the refrigerator for around 1 to 2 weeks.
Benefits of Making Kefir at Home:
- Probiotic Powerhouse: Kefir is a natural probiotic, containing a diverse range of beneficial bacteria and yeast strains that promote healthy digestion and support a robust immune system. The probiotics in kefir can help restore gut flora and improve overall gut health.
- Cost-Effective: Producing kefir at home is considerably more cost-effective than purchasing it from stores, especially if you regularly consume kefir. The initial investment in kefir grains pays off in the long run, as they can be reused indefinitely.
- Customization and Flavour Variety: When making kefir at home, you have the freedom to experiment with different types of milk, such as cow’s milk, goat’s milk, or non-dairy alternatives. This allows you to cater to personal dietary preferences or address specific nutritional needs. Additionally, you can infuse your kefir with various flavors like vanilla, cinnamon, or fruit purees to create a wide range of delicious and unique taste experiences.
- Freshness and Quality Control: By making kefir in your own kitchen, you have full control over the ingredients and the fermentation process. You can ensure the quality and freshness of the milk used, choose organic options, or opt for milk from local farms. This level of control is particularly important if you have specific dietary requirements or are concerned about the use of additives or preservatives in store-bought kefir.
- Sustainability and Reduced Packaging Waste: Making kefir at home contributes to a more sustainable lifestyle by reducing packaging waste. Store-bought kefir often comes in single-use plastic containers, whereas homemade kefir can be stored in reusable glass jars. By embracing homemade kefir, you actively participate in reducing your environmental footprint.
- Share and Connect: Making kefir at home opens the door to sharing your creation with family, friends, and loved ones. You can introduce them to the joys of homemade kefir, exchange recipes, and inspire others to explore the world of fermentation. It becomes a bonding experience and a way to connect with others through the shared love of wholesome and nourishing food.
With just a few simple steps, you can unlock the magic of fermentation, harness the power of probiotics, and enjoy a versatile and nutritious beverage. By embracing homemade kefir, you take control of your health, reduce your environmental impact, and embark on an educational and flavourful adventure. So, why not give it a try and indulge in the pleasures of crafting your own kefir in the comfort of your own kitchen? Cheers to your health and homemade kefir!
Join live nutrition and cooking classes, improve your cooking skills and make better food choices
Lisa Lawrenson
Latest posts by Lisa Lawrenson (see all)
- Masterclass: How to grow a thick healthy lawn - March 31, 2024
- Lawn care – dealing with moss and thatch - March 22, 2024
- A beginners guide to Artificial Intelligence and Chat GPT - February 29, 2024
- 10 minute tutorial: How to arrange supermarket lillies into a stunning floral arrangement - January 1, 2024
- 10 health changes women should watch out for after 50 - January 1, 2024