


Crafts with grandchildren: try tie-dye

Searching for a perfect summertime craft project to do with the grandkids? Teach them a bit of fashion history with a tie-dye session in the back garden. It’s easy, affordable and fun.
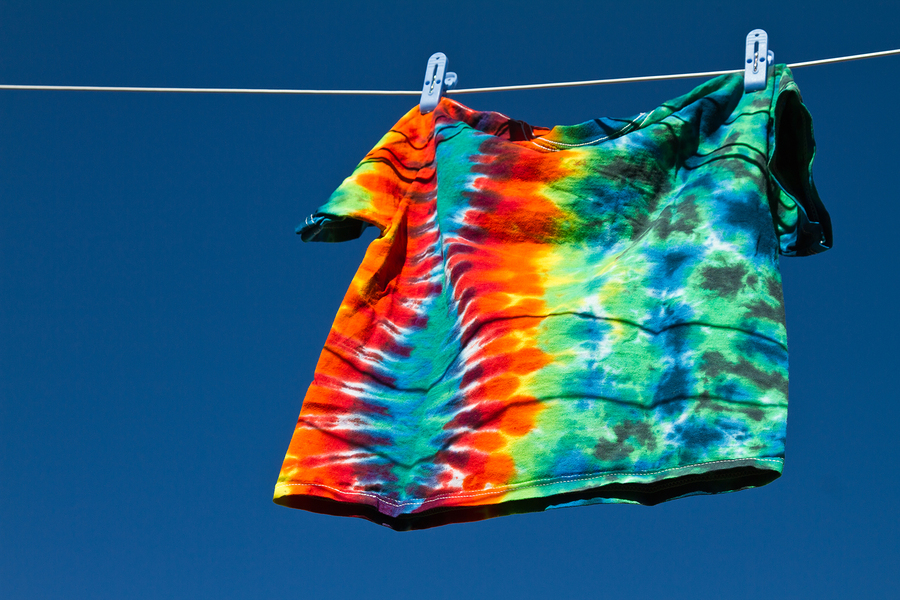
Tie-dying may have reached its peak in the ‘60s and ‘70s, but the colourful spirals have remained a standout fashion statement, not to mention a brilliant craft project for kids of all ages. Once you gather your materials, tie dying is a simple, five-step process.
What you need
- Plastic tubs
- Squeeze bottles
- Rubber bands
- Plain white t-shirts
- Fabric dye in multiple colours
- Soda ash dye fixer
- Plastic gloves
- Large freezer bags
Step 1: Soak shirts in soda ash
The first task is to soak your t-shirts (or any garments you want to dye—socks, aprons, etc.) in soda ash. Soda ash, also known as sodium carbonate, is a dye fixer that helps ensure your tie-dye stays bright even after several washes in the washing machine. You can buy it online, or ask your local fabric or DIY shop if they stock it.
In a large plastic tub, mix the soda ash in warm water according to the instructions on the bag. Soak the garments in the solution for 10 minutes before removing and wringing out completely.
Step 2: Wrap them up with rubber bands
Now it’s time to create your unique pattern. Much like cutting out paper snowflakes for winter decorations, there’s no ‘right way’ to do this. However, if you want to achieve the classic tie-dye spiral, place the end of a wooden spoon on the belly of the shirt and spin it carefully. Allow the shirt to twist around this centre axis like spaghetti around a fork. Try to keep the shirt a flat, circular shape, rather than having it climb up the handle of the spoon.
Next, wrap rubber bands around the shirt to keep the spiral intact. Overlap the rubber bands and spread them out evenly until you have what looks like a perfectly sliced pie.
Step 3: Squirt on the colours
Mix your textile dye in plastic squeeze bottles with pointed caps. Carefully squirt the dye onto the shirt, filling each ‘pie slice’ with a different colour. Wear disposable plastic gloves to avoid staining your hands, and don’t forget to colour the back of the shirt too.
Step 4: Seal and wait
Once you’ve dyed your bundled-up garments, seal them in plastic freezer bags for 24 to 36 hours. This is an important part of the process, as it allows the dye to set. So, as tempting as it may be, don’t unwrap your shirts early! Hint: label the bags so that you can remember whose shirt is whose.
Step 5: Rinse, dry and wear
After at least a day of waiting, it’s time to unwrap your creations! Remove the rubber bands and unravel your shirts to reveal your colourful patterns. Give the garments a final soak in cold water to remove any lingering, unset dye. Then, simply allow the shirts to dry before wearing them out on the town!
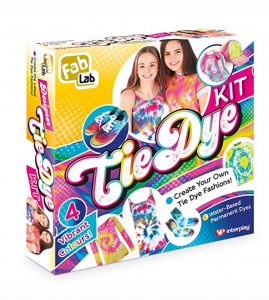
Would your grandchildren enjoy making their own tie-dye creations?
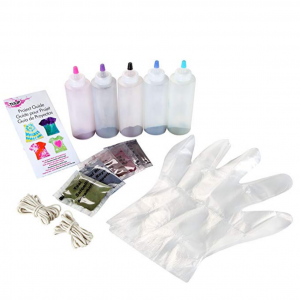
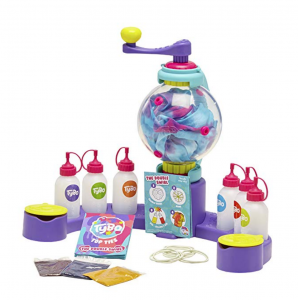
Here are some great kits we have found for you!
Rachel - Silversurfers Assistant Editor
Latest posts by Rachel - Silversurfers Assistant Editor (see all)
- Graham Norton’s funniest interviews - April 2, 2024
- Chocolate dipped strawberries for Easter - March 28, 2024
- Elton John’s Greatest Hits Playlist - March 24, 2024
- The best of Diana Ross - March 23, 2024
- Easter activities for grandchildren - March 23, 2024